Capacitors and Retro Game Consoles
When it comes to old video game consoles, there’s no shortage of things that can go wrong. I’ve spoken on Twitter and in podcasts many times of my issues with optical (CD/DVD) drives and my obsession with getting flash media replacements in the form of Optical Drive Emulators (ODEs). That’s just one thing that can go wrong though, it has nothing to do with all the usually dependable parts that can go bad. I’ve had power and reset buttons stop working, controller ports malfunction (certain buttons stop working or no power altogether), power supplies fail, cartridge ports malfunction, and of course the frailty of capacitors. One of the biggest ticking time bombs of certain retro consoles can be a simple and inexpensive part called a capacitor. Keep in mind that capacitor replacement, often called re-capping, is not the golden answer and it comes with a fair share of caveats. In this post I’m going to dig into what a capacitor is, why it’s important to consoles, what consoles are most affected, and of course share some resources should you want to do additional research for yourself. This is high level explanation for interest and the supplemental links are for those more knowledgeable than me who can explain it in more depth.

What is a Capacitor?
A quick electronics lesson here, but trying to keep it relatively non-technical and also because I’m no expert. Capacitors are basically storage tanks for energy, in our case electricity. They allow a steady current to flow through them, but they retain a charge so that if a current is interrupted briefly a consistent flow of electricity remains, and then they refill once the current returns. Capacitors can be essential in circuit boards to maintain consistent voltage especially when using AC power. As I understand it, Alternating Current (AC) power has what are called “inductive loads” that can lag the voltage behind the current, and most game consoles take in an AC current from wall outlets. Granted, many of these consoles have Direct Current (DC) power adaptors, which I’m not completely sure of how that adjusts, but a capacitor basically allows for voltage consistency when dealing with inductive loads. In game consoles we have a lot of power traveling across the board and capacitors make sure all the parts of the console continue to work despite the inconsistency of power.
A capacitors main values that you need to pay attention to are polarity, capacitance, and voltage. Polarity is the simple factor that there are two sides (or leads) in a capacitor related to negative and positive polarity, which is important when soldering to a circuit board make sure the energy flows where it should. When attaching a capacitor you always want to make sure your polarity is correct, else you risk an explosion of the capacitor. The capacitance is measured in Farads (F) and on circuit boards is usually in microfarads (µF), which measure how much charge they can store. Finally there’s voltage, which measures the maximum allowable voltage the capacitor can handle before it explodes. You want to make sure that you never send current that exceeds the voltage of a capacitor, and ideally you want to provide head room. For example, using a 12V capacitor when 9V current is passing through.
Now that we know what capacitors do and what makes them up, we’re ready to delve into why they are important in retro video game consoles.
Capacitors and Retro Gaming
 Capacitors come in various shapes, although the most common I see in retro consoles are the barrels and the flats. Certain consoles are at higher risk of bad capacitors than others with reasons varying from not enough voltage head room, temperature rating, build quality, build components, poor installation, and of course just plain use. This is probably the largest factor in why a Sega CD can work perfectly when you first buy it second hand, run home, and test it for 5-30 minutes versus playing through all of Lunar: The Silver Star. In that 30 mins of use, and probably not much other use in the past years, you haven’t been working the console or the capacitors and there’s been no current flowing through them. Now you’re getting more use out of it and working those components, not to mention the state of your AC power, which is probably one of the larger factors. Why the inconsistencies of capacitors? Simple answer: cost. Game companies had to cut corners to get costs down and remain competitive, this is a natural part of doing business with electronics.
Now you’ve got a console acting weird, what’s the problem and what are the long term affects of a broken or leaky capacitor? The symptoms can be inconsistent and hard to tell, but if you see sudden or random issues with video, audio, crashing, or powering off, it can be a good sign you’re seeing symptoms related to capacitors (capacitance). One very common issue is that the volume is low and you find the need to turn it up. The lower the volume goes, the more problems you have, and then you may notice shorting of sound completely. This can be the natural progression of a failing capacitor. As capacitors fail they can begin to leak, which releases corrosive material all over the board and destroys leads or other components. The longer you go, the more potentially irreparable damage you can do. Just in case you think this is an urban legend: capacitor damage can render your retro console in an irreparable state so you may want to seriously consider replacing capacitors (recapping) as a preventative measure or solution to random symptoms.
Now, is this an issue with all consoles? Not really. Is it just super old consoles? Nope, the original Xbox in all versions but 1.6 (the latest) had a system clock capacitor that has a large tendency to leak and has claimed the lives of many consoles less than 20 years old. Here’s the quick breakdown of what I’ve been told is best practice. The following consoles you should replace the capacitors on regardless of the current state:
- PC Engine (LT or Original, GT or handheld, and Duo with CD-ROM built in) – Note: I’ve heard Turbografx-16 and CoreGrafx aren’t as prone to issues.
- Amiga 500/500+/600/1200/4000
- Amiga CD32
- Sega Game Gear
- Sega/Mega CD (Model 1 more prone, either should be recapped to be safe)
- Panasonic 3DO (I usually wait for symptoms, hard to find installer)
- Xbox (System versions 1.0-1.5, most of them)
I’ve also heard that while less common, these are good ones to do as well, but you may want to wait for symptoms:
- Atari VCS/2600
- Nintendo Family Computer (Famicom) or Nintendo Entertainment System (NES)
- Arcade Jamma boards (consult an arcade maintenance guy or self-teach)
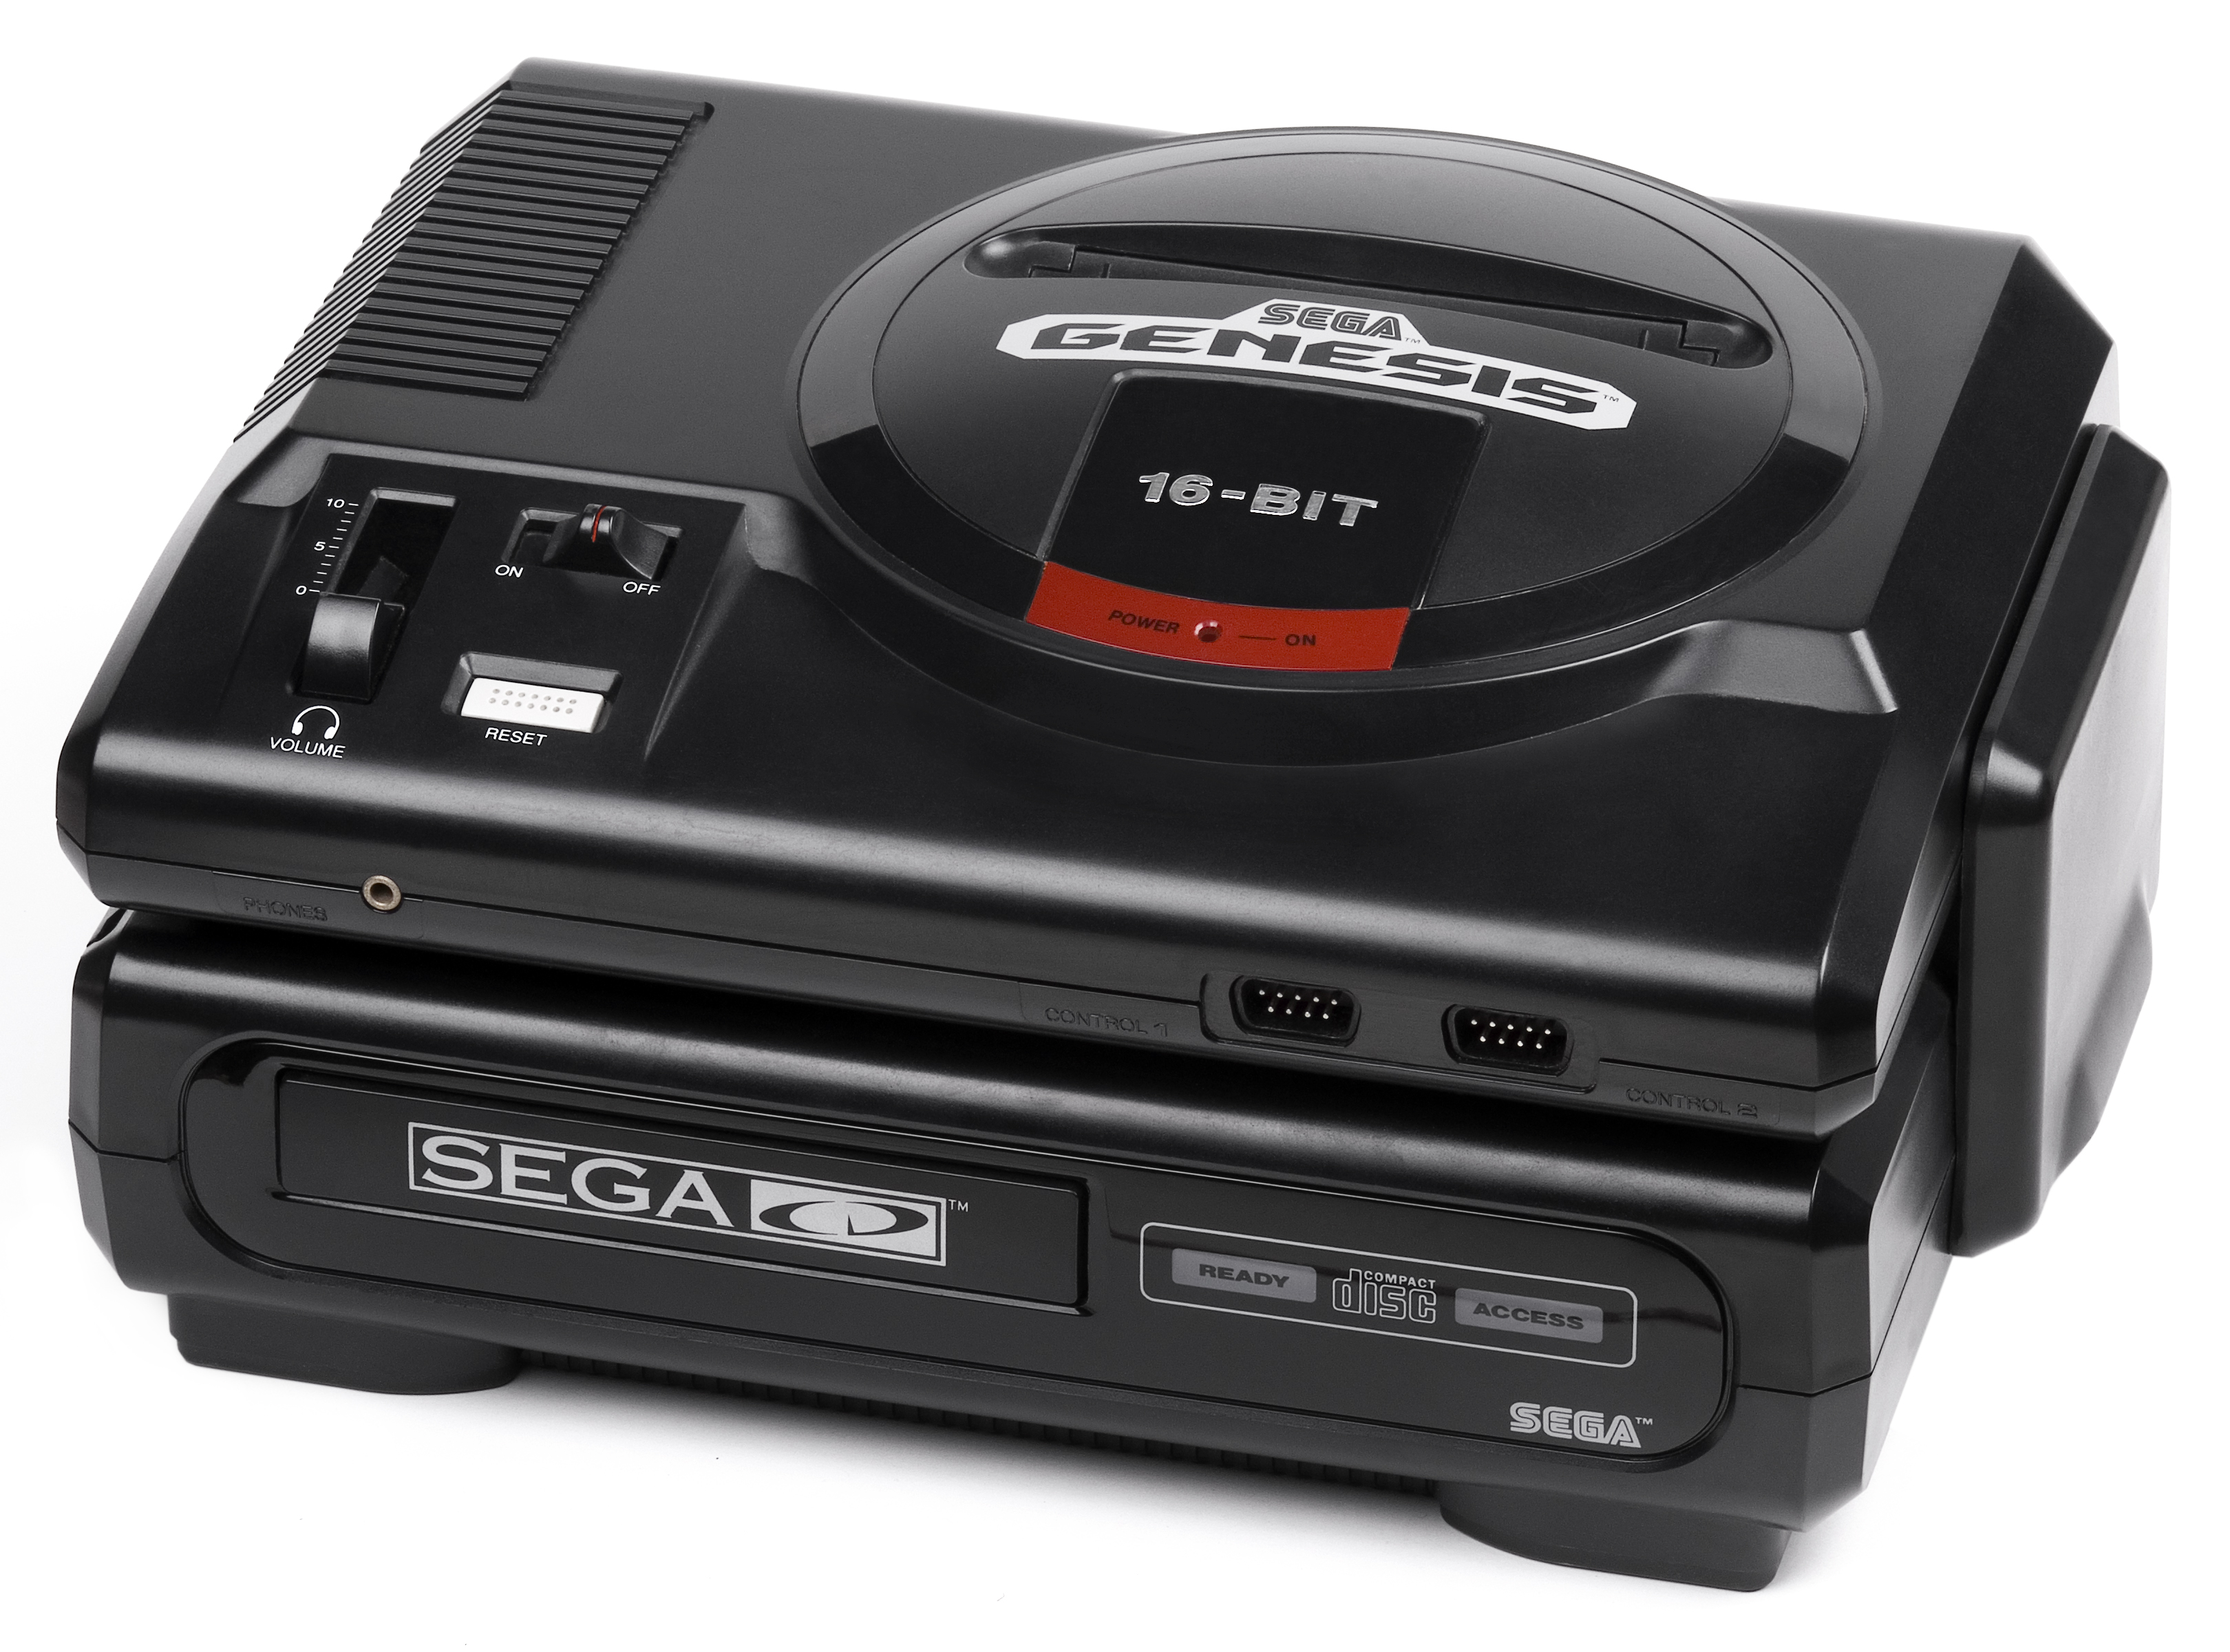
- Sega Genesis/Mega Drive (Model 1 and early Model 2 consoles, apparently the V3 and V4 variants and Genesis 3 have strong capacitors, big project)
And as for others, it’s anyone’s guess, as always try to find a reliable electronics person and trust their judgement. It’s also becoming more common to purchase a re-capped console rather than have your current one repaired.
To Re-Cap or Not To Re-Cap
 As usual with retro game consoles, the learning curve is steep and the cost can get high. While a re-cap kit can be quite inexpensive (many under $10), installation can be a tedious and difficult job. You need to de-solder all existing caps without damaging the board, clean it, and replace them. Some consoles, like the Genesis/Mega Drive, can have 30+ to install resulting in a long build time and after all is said and done you don’t know if it will work again. Now imagine doing this to a newly purchased $200-$300 Sega CD/Mega CD. Finding talented installers who can support the incredible demand is also hard to find and most people that have done my re-caps in the past no longer provide the service, largely due to volume and of course peoples’ incredibly rude attitude about how long it takes despite these installers being the only game in town. Either way, determining you want a re-cap and actually doing it or having it done are two very diverse conversations.
That said it’s only a matter of time until you get a coveted console that starts to do you wrong. My beloved Japanese 3DO that I have put an Optical Drive Emulator into and has native 240p output has suddenly started to lose sound and has me worried. No idea if I will be able to find an installer who I can send this to if a recap is necessary so it’s just the literal time bomb game while I hunt another, hopefully recapped, console. I can use the article listed to try and eyeball if my issue is a capacitor going or not, but if I’m not prepared to replace it (and I’m not) there’s little I can do with this diagnosis. Not only that, but this all costs money and retro gaming, even on the lower cost scale like Genesis or Playstation, can add up quick.
In the end my advice is this. Like all other items in your life, maintain your consoles as best you can utilizing knowledge and your own resources or skills. If you suspect a console is a time bomb, like my 3DO, then do what you can but don’t not use the console for fear you may break it unless you have an actual action lined up. The worst crime a retro console can have is that it’s on a shelf not being used, because if that’s all you want it for, who cares if the capacitors go?
Additional Resources
Capacitors Explained (theengineeringmindset.com)
Bad Capacitors and Problems (specifically on retro consoles)
Capacitor Kits and Resources (no commercial affiliation, just a starting recommendation)

This IS an awesome, genuine and well explained thread.
Appreciate it. Thank you.
I’m having trouble with a 1987 pc Engine that i managed to full recap by a Friend of mine.
He did well but now has to deal with sound issues, and Can’t identify whose caps is to blame. He’ll probably has to test one by one to figure it out and Switch with a New cap. Strong pain in the ass.
By the way if using mini RGB board to connect at the back of the console Can turn down the pins. You have to be careful when plugged in/out.
Cheers.
fiston
August 19, 2023 at 4:08 am